

When it comes to tackling DIY projects, whether your a seasoned pro or a frist-time enthusiast, teh right tools can make all the difference. Enter the Black+Decker Workmate 225—a versatile workbench that’s designed to elevate your woodworking experience and streamline your assembly tasks. For new users, the journey of setting up this innovative tool can seem daunting at first glance. Though, with the right guidance, you can transform your unfamiliarity into newfound confidence. In this article, we will explore essential tips and tricks to ensure a smooth assembly process, unlocking the full potential of your Black+Decker Workmate 225. Get ready to dive into a world of creativity and craftsmanship,as we help you navigate the ins and outs of this handy workbench. Whether you’re assembling furniture, crafting a new project, or simply organizing your workspace, our complete guide will set you on the path to DIY success.
Understanding the Components and Features of the Black+Decker Workmate 225
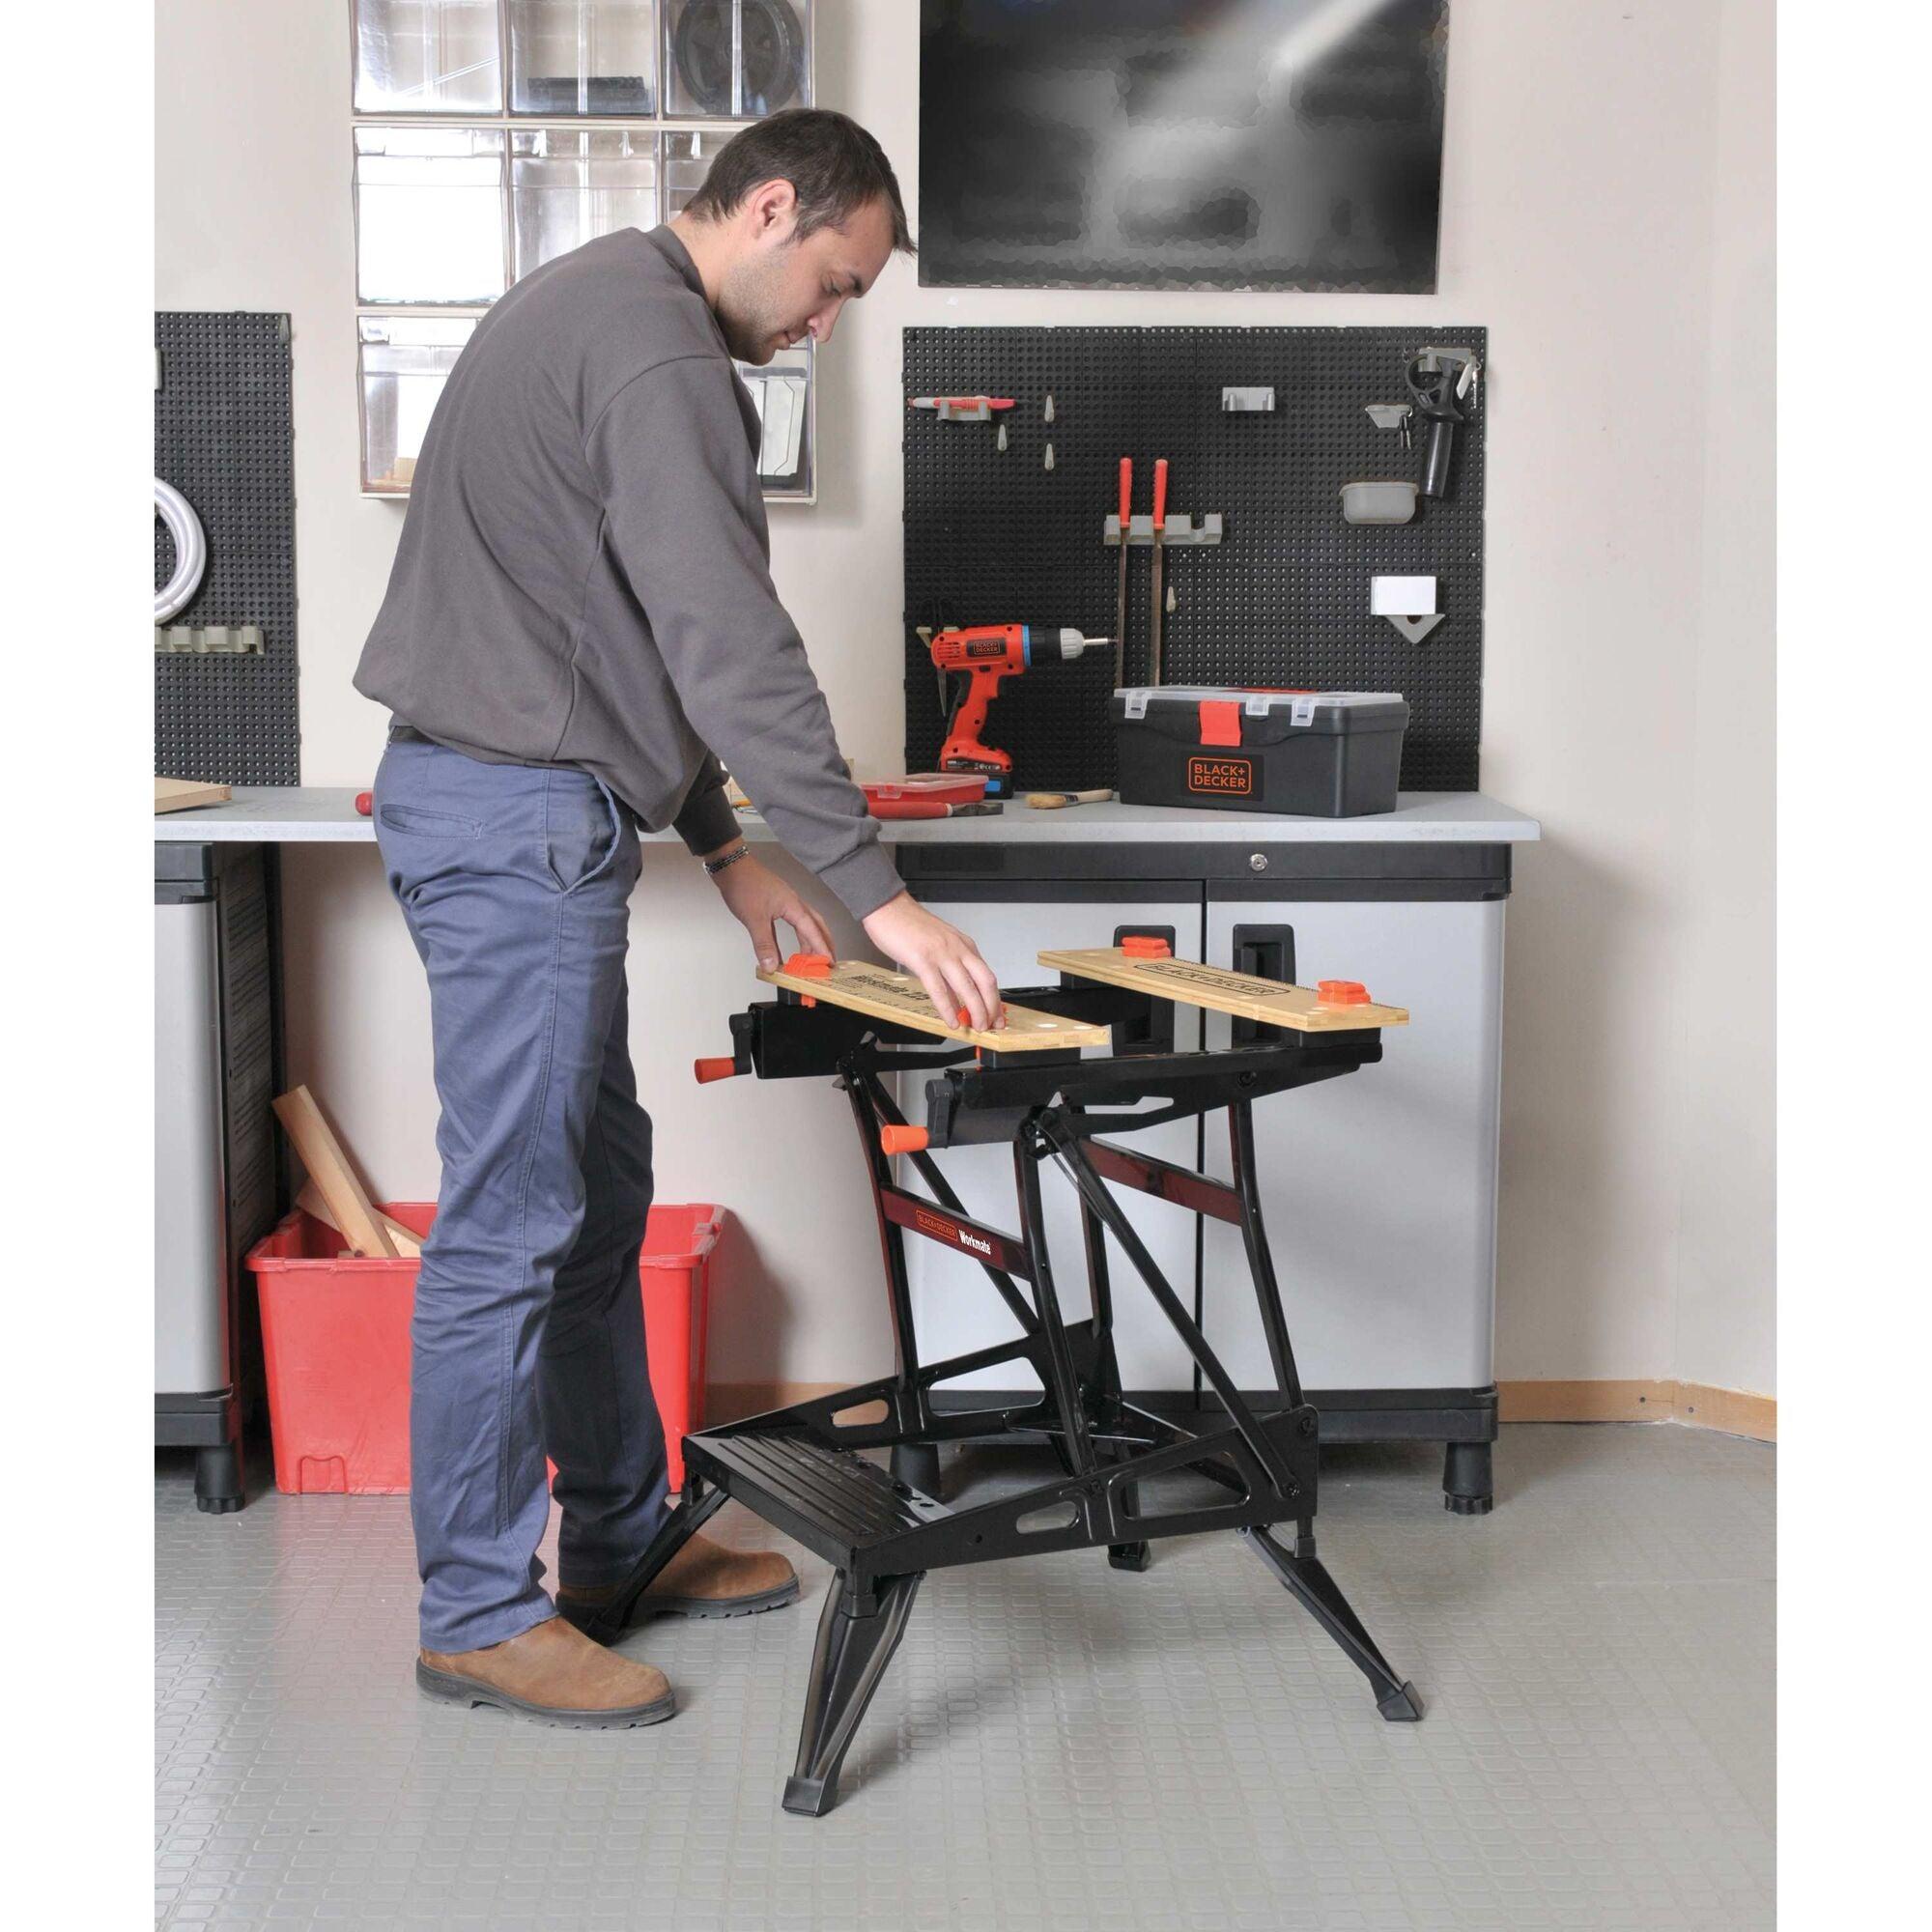
The Black+Decker Workmate 225 is designed with versatility and functionality in mind, making it an essential tool for both DIY enthusiasts and professional craftsmen. This robust workbench features a collapse and transport system that enables users to easily store and move the unit, making it perfect for those with limited workspace. With a maximum capacity of 550 lbs, it can accommodate various projects, and its solid construction ensures stability and reliability.
Notable components of the Workmate 225 include adjustable benches, which can be set to various heights to suit different tasks. Additionally,the unit comes equipped with built-in clamps that are easily adjustable,offering the flexibility required for securing various materials. The non-slip surface ensures that materials stay in place during use, enhancing safety and efficiency. When organizing your workspace, the Workmate’s integrated tool storage features provide a practical solution for keeping essential tools within reach, minimizing time spent searching for them.

Step-by-Step Assembly Guidance for a seamless Setup Experience
Assembling the Black+decker Workmate 225 can be a straightforward and rewarding task when you have the right guidance. start by clearing a spacious area where you can organize your tools and parts. Lay out all components,ensuring that you have everything needed before you begin. This will save you time and frustration down the line. Here’s a list to keep you on track:
- Check the packaging: Ensure you have all parts accounted for, including screws, tools, and the instruction manual.
- Prepare your tools: Have a screwdriver, a wrench, and a mallet at hand for any adjustments.
- Familiarize yourself with the parts: Understanding what each piece does simplifies the assembly process.
Begin with the base assembly, carefully following the diagram in the manual. Position the legs at a right angle, ensuring they lock securely to provide stability. Onc the base is secure, attach the work surface with the given brackets. Make sure to tighten every screw adequately; a loose assembly could hinder functionality. Keep these tips in mind:
| Tip | Description |
|---|---|
| Align everything properly | double-check that all parts fit snugly before securing. |
| Avoid over-tightening | Over-tightened screws can strip the holes,weakening the structure. |
| Seek assistance if needed | Having a friend help can make the setup easier and more enjoyable. |

Essential tools and Techniques for Precision Assembly
To achieve a flawless assembly experience with your black+Decker Workmate 225, it’s vital to equip yourself with the right tools and techniques. For starters, having a sturdy measuring tape allows you to ensure precise cuts and alignments. pair this with a reliable level to verify that everything sits perfectly horizontal or vertical. Consider using a rubber mallet for gentle adjustments without damaging your materials.Lastly, a set of screwdrivers—both flathead and phillips—will be indispensable for securing components snugly without stripping screws.
In addition to tools, mastering a few essential techniques can enhance your assembly skills substantially. Begin by organizing your workspace to minimize distractions; a clutter-free area aids concentration and efficiency. Utilize the clamping feature of your Workmate 225 to hold materials steady while you work, which prevents accidental slippages. Another useful method is the dry fit approach, where you assemble parts without fastening them to check for compatibility and alignment. This process ensures that when you are ready to secure everything,it’s a perfect fit.
Common Pitfalls to Avoid When Using Your Workmate 225 for the First Time
When you’re using your Workmate 225 for the first time, there are several common pitfalls to be aware of that can hinder your experience. One major mistake is not properly reading the manual before assembly. The instructions provide vital insight into the assembly process and safety tips that are crucial for effective use. Skipping this step can lead to misalignment or improper setup, which may compromise stability during projects.additionally, don’t overlook adjusting the workbench height and clamping settings according to your specific task; this ensures optimal performance.
Another frequent oversight is underestimating the weight capacity of the Workmate 225. Users often overload it with heavy materials without considering the limits, which can not only damage the unit but also pose safety risks. To prevent this, make sure to adhere to the manufacturer’s recommendations. Here’s a fast reference:
| Material type | Weight Limit |
|---|---|
| Wood | 300 lbs |
| Metal | 200 lbs |
| Plastic | 150 lbs |
another common pitfall is failing to secure the materials correctly in place. Always double-check that the locking mechanisms are fully engaged before starting your project, as this prevents slipping and ensures the accuracy of your cuts or assemblies. Being aware of these factors can transform your initial experience into a positive and productive one.
Closing Remarks
the Black+Decker Workmate 225 is more than just a versatile workbench; it’s an ally for first-time users embarking on their DIY journey. By following the assembly tips and tricks outlined in this guide, you’ll not only assemble your Workmate with ease but also unleash its full potential for all your upcoming projects. Remember, each time you use your Workmate, you’re honing your skills and building confidence in your craftsmanship. So gather your materials, channel your creativity, and let the Workmate 225 support your endeavors. Happy building, and may your creative pursuits be both productive and enjoyable!